Frontend Deployment
Overview
In this module, you'll deploy the BlazeNote frontend application using Cloudflare Workers. As outlined in our Getting Started guide, the frontend serves as the user interface layer of our serverless architecture:
Frontend Architecture Components:
- Framework: React 18 with TypeScript for type-safe development
- Styling: Tailwind CSS for modern, responsive design with utility-first approach
- Build Tool: Vite for fast development and optimized production builds
- Rich Text Editor: TipTap (ProseMirror-based) for advanced note editing capabilities
- State Management: React Context API for global state management
- Runtime: Cloudflare Workers (serverless JavaScript)
- Deployment: Cloudflare Workers with Wrangler CLI
This deployment establishes your note-taking application's user interface, providing a modern, responsive web app that integrates seamlessly with your Cloudflare Workers backend. The frontend includes features like rich text editing, voice transcription, AI-powered text processing, and file upload capabilities.
Deployment Methods
- Git-based Deployment: Automated deployment through Cloudflare Workers Builds
- CLI Deployment: Manual deployment using Wrangler CLI (this modules cover this method)
Both methods will result in your frontend being available at a global edge URL: blazenote-frontend.your-subdomain.workers.dev
Steps
1. Develop locally
Before deploying to production, let's ensure your frontend works correctly in your local development environment.
Navigate to Frontend Project
First, ensure you have the frontend repository set up:
If you're not sure how to open your terminal, refer to our Prerequisites Tools guide for detailed instructions on your operating system.
cd blazenote-frontend
Test Development Server
Start the development server:
npm run dev
Expected output:
Verify Application Functionality
Test the frontend in your browser:
- Open http://localhost:5173
- You should see the BlazeNote application interface
- Test creating a new note
- Test the rich text editor functionality
- Verify the interface is responsive
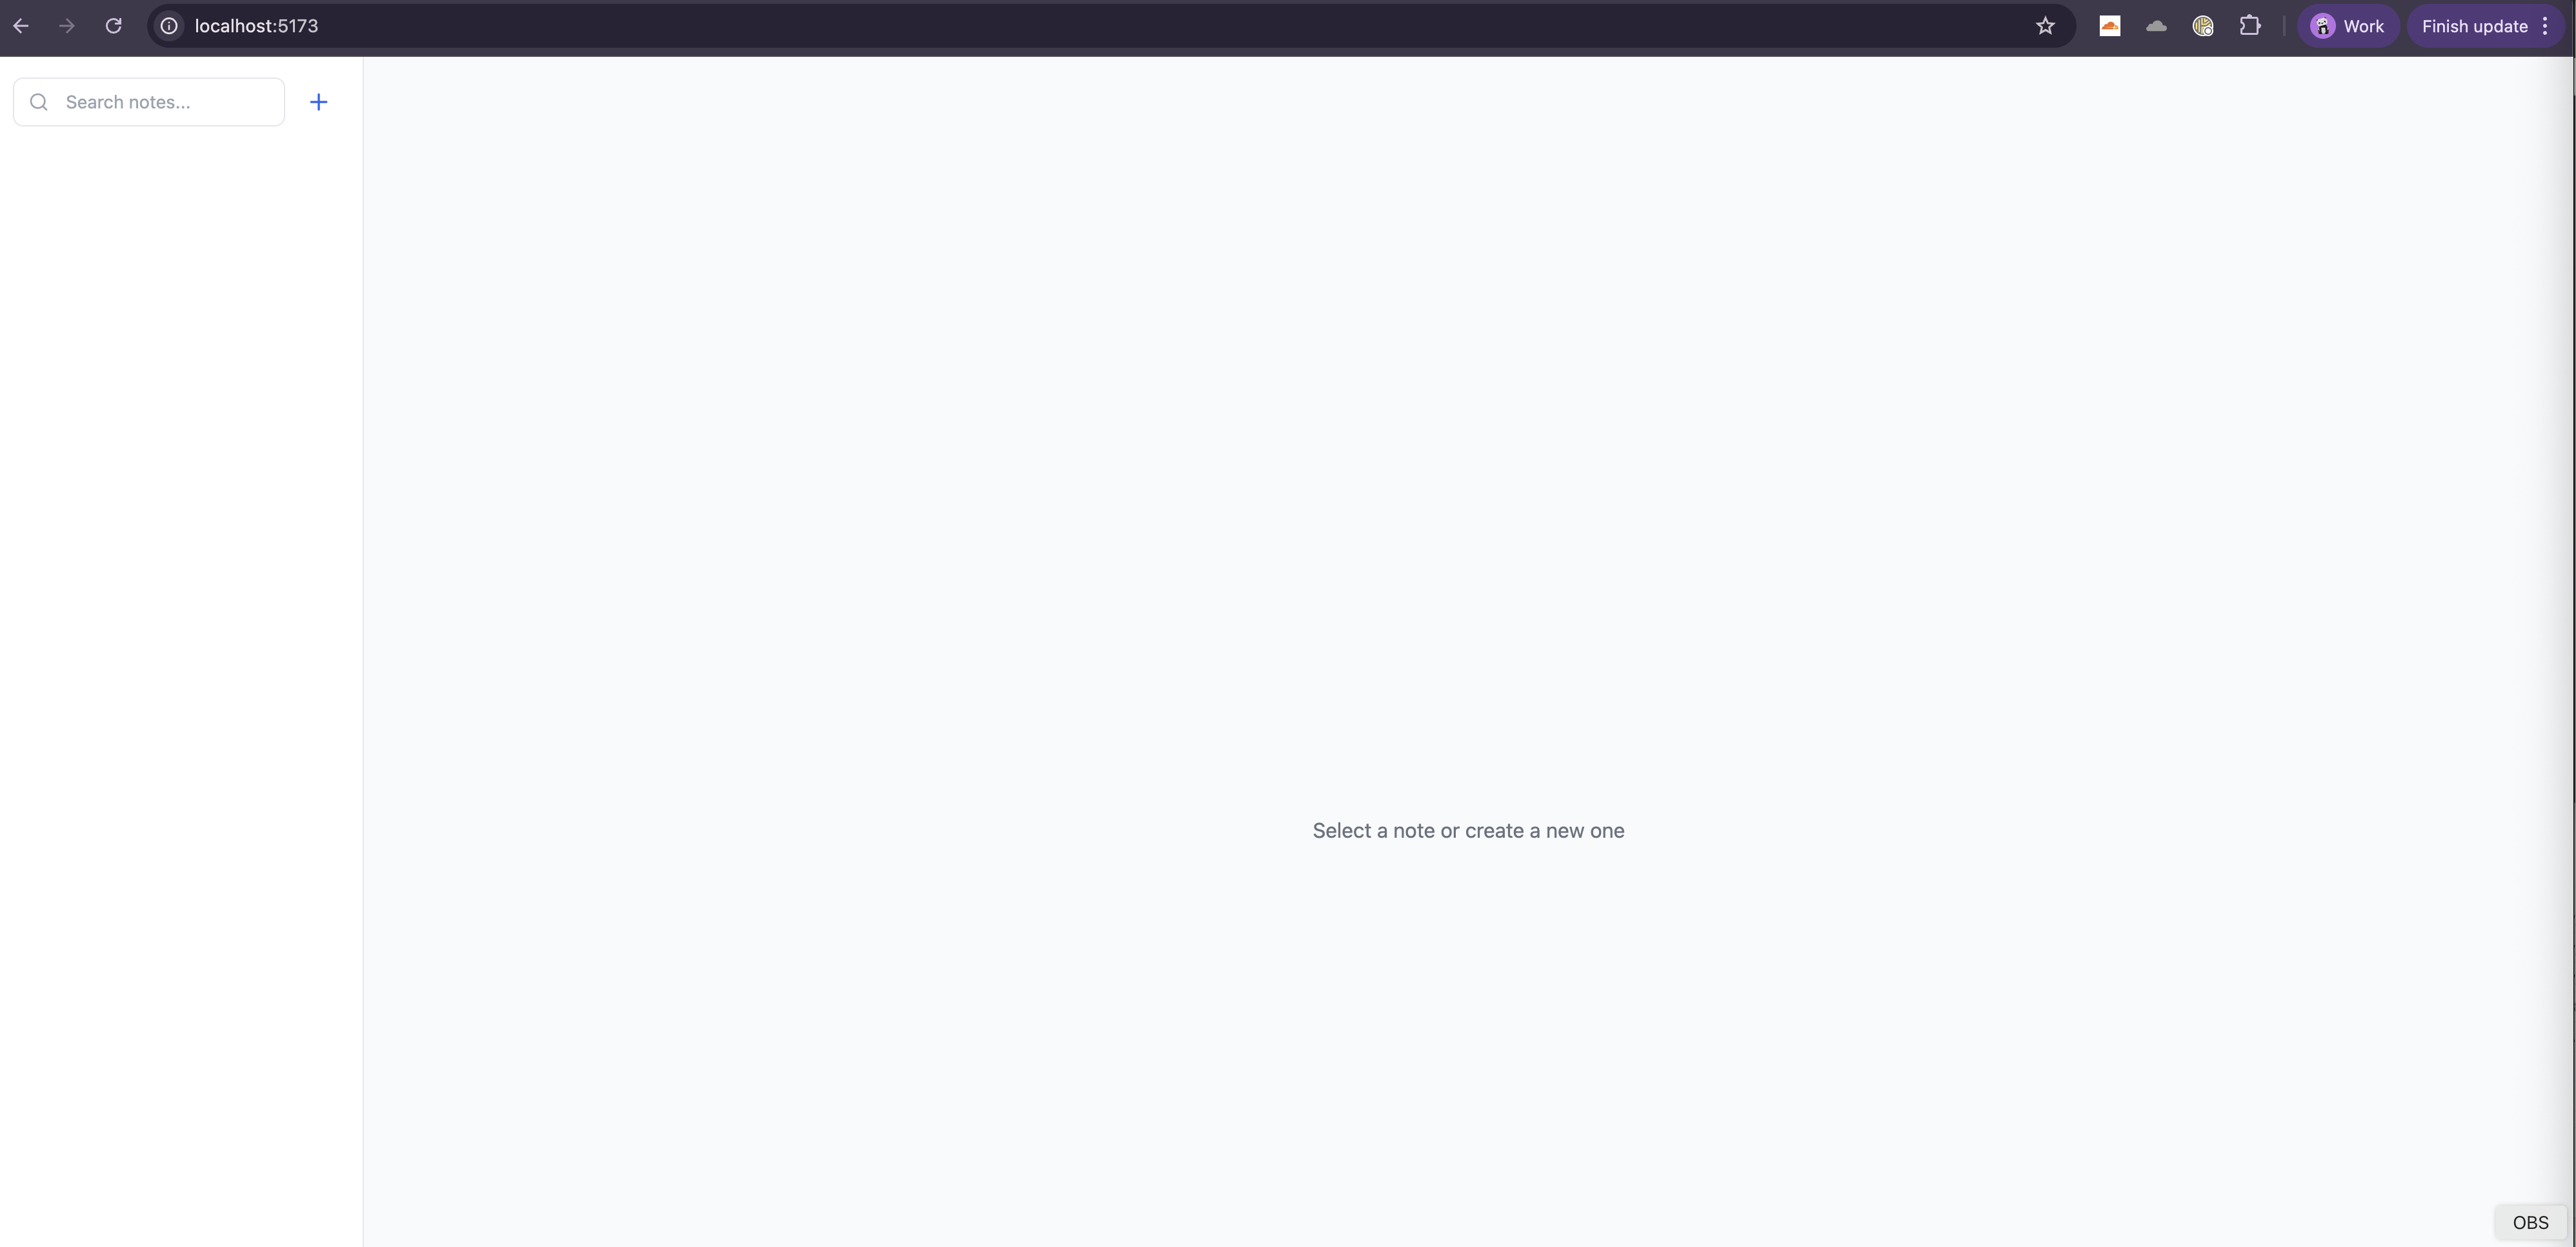
Expected features you should see:
- Clean, modern interface with note list sidebar
- Rich text editor with formatting toolbar
- Search functionality in the note list
- Responsive design that works on mobile
Stop the development server:
Press Ctrl + C in the terminal
2. CLI Deployment
If you prefer manual deployment or need immediate deployment control, use the Wrangler CLI method.
Deploy Directly
By using the same terminal from the previous step, navigate to your frontend project and deploy:
npm run deploy
Expected output:
First time deployment, select the account you used for Blazehack
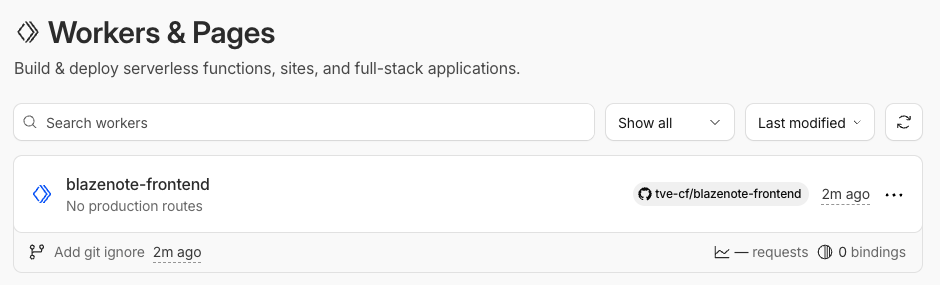
Once completed, you'll see the workers successfully deployed to Cloudflare dashboard
3. Access and Test Your Deployment
Get Your Deployment URL
URL format: https://blazenote-frontend.your-subdomain.workers.dev
Test Your Live Frontend
Basic connectivity test:
# Replace with your actual URL
curl https://blazenote-frontend.your-subdomain.workers.dev
Expected response:
HTML content of your frontend application
DNS propagation may take approximately 15–30 minutes. If you can't access your deployment immediately, proceed with the next module and return to test later.
Environment Configuration
Wrangler Configuration
Verify your wrangler.toml configuration:
cd ~/projects/blazenote-frontend
cat wrangler.toml
Expected configuration:
Verify Full Application
Now you can go back to backend-deployment to add CORS configuration
Test in browser:
- Open your frontend URL
- Try creating a new note
- Test the rich text editor
- Verify backend connectivity (if backend is already deployed)
Expected behavior:
- Application loads without errors
- Interface is responsive
- Note creation works
- Rich text editor functions properly
Frontend Project Structure
Understanding your frontend project architecture helps with debugging and future development:
Project structure:
blazenote-frontend/
├── public/                    # Static assets
├── src/                      # Application source code
│   ├── App.tsx              # Main application component
│   ├── main.tsx             # Application entry point
│   ├── index.css            # Global styles and TipTap customizations
│   ├── components/          # React components
│   │   ├── NoteEditor.tsx   # Main note editing interface
│   │   ├── NoteList.tsx     # Note list sidebar
│   │   ├── editor/          # Rich text editor components
│   │   └── ui/              # Reusable UI components
│   ├── contexts/            # React context for state management
│   │   └── NotesContext.tsx # Global notes state
│   ├── hooks/               # Custom React hooks
│   │   ├── useSpeechRecognition.ts  # Voice transcription
│   │   └── useTiptapExtensions.ts   # Editor configuration
│   ├── types/               # TypeScript type definitions
│   │   └── index.ts         # Application types
│   └── utils/               # Utility functions
│       └── textUtils.ts     # Text processing utilities
├── package.json             # Dependencies and scripts
├── vite.config.ts           # Vite build configuration
├── tailwind.config.js       # Tailwind CSS configuration
└── tsconfig.json            # TypeScript configuration
└── wrangler.toml            # Wrangler configuration
└── .env                     # Environment variables for local development
└── .env.production          # Environment variables for production
Environment Variables
Local Development
For local development, create or update your .env file:
cd ~/projects/blazenote-frontend
Use vi or nano to edit .env:
# Backend API URL for local development
VITE_API_BASE_URL=http://localhost:8787

# Optional: Development mode flag
VITE_DEV_MODE=true
Alternative: Use deployed backend for local development:
# Use your deployed backend instead of local
VITE_API_BASE_URL=https://blazenote-backend.your-subdomain.workers.dev
Production Environment
Important: VITE_* environment variables are build-time only for SPAs. They are embedded into your JavaScript bundle during the build process, not at runtime. This means you must set them before building your application.
Set in .env.production
Create a .env.production file in your frontend project:
cd ~/projects/blazenote-frontend
Create or edit .env.production:
# Production backend URL - embedded at build time
VITE_API_BASE_URL=https://blazenote-backend.your-subdomain.workers.dev

# Optional production settings
VITE_DEV_MODE=false
Build and deploy:
# Vite automatically loads .env.production during production builds
npm run deploy
Cloudflare Workers environment variables (configured via dashboard or wrangler.toml [vars]) are runtime variables accessible only in your Worker's server-side code via the env parameter in the fetch handler.
Since SPAs are pre-built static assets that run in the browser (not in the Worker runtime context), they cannot access these server-side runtime variables. The VITE_* variables must be embedded during the build step using .env.production because Vite statically replaces them in your JavaScript bundle at build time, not at runtime.
If you change your backend URL, you must rebuild and redeploy your frontend with the new VITE_API_BASE_URL value.
Troubleshooting Guide
Common Build Issues
"Module not found" errors
# Clear node_modules and reinstall
rm -rf node_modules package-lock.json
npm install
Vite build fails
# Check for TypeScript errors
npm run build 2>&1 | grep -i error

# Fix common issues
npm run lint --fix
npm run prettier
Environment variables not working
- Ensure variables start with
VITE_prefix - Check variable names are exact matches
- For local development: Verify variables are set in
.envfile and restart dev server - For production: Verify variables are set in
.env.productionor passed via command line before building - Remember:
VITE_*variables are build-time only, not runtime - Rebuild and redeploy after changing any
VITE_*variables
Common Deployment Issues
"Build failed" in Cloudflare Workers
- Check build logs in Cloudflare dashboard
- Verify build command is correct:
npm install && npm run build - Ensure build output directory is
dist - Check for Node.js version compatibility
- Verify wrangler.toml configuration
"Worker exceeded CPU time limit"
- Check for infinite loops in your code
- Optimize asset serving
- Review middleware performance
"Site not accessible" after deployment
- Wait 15-30 minutes for DNS propagation
- Check if deployment actually completed
- Verify custom domain settings if using one
- Check Cloudflare status page for outages
Frontend loads but can't connect to backend
- Verify
VITE_API_BASE_URLis correctly set - Check backend CORS configuration includes frontend domain
- Verify backend is deployed and accessible
- Check browser developer tools for CORS errors
Features not working in production
- Check browser console for JavaScript errors
- Verify environment variables are set
- Test locally with
npm run preview - Check if assets are loading correctly
Common Integration Issues
CORS errors (most common)
Access to fetch at 'https://blazenote-backend...' from origin 'https://blazenote-frontend...' has been blocked by CORS policy
Solution:
- Update backend
src/index.tswith your frontend domain - Redeploy backend
- Test again
API calls failing
- Check network tab in browser developer tools
- Verify backend URL is correct
- Test backend endpoints directly with curl
- Check backend logs for errors
References
- Cloudflare Workers Documentation
- Wrangler CLI Reference
- React Documentation
- Vite Documentation
- TipTap Editor Documentation
- Tailwind CSS Documentation
- TypeScript Best Practices
<SLUG>.sxplab.com. You can also find your domain/zone name in the Cloudflare dashboard.