Custom Domain Configuration
Overview
In this module, you'll configure custom domains for both your BlazeNote frontend and backend applications. As outlined in our Getting Started guide, custom domains provide professional URLs for your serverless applications while maintaining the performance benefits of Cloudflare's global edge network.
Custom Domain Architecture:
- Frontend Domain:
blazenote-frontend.<slug>.sxplab.com→ Cloudflare Workers - Backend Domain:
blazenote-backend.<slug>.sxplab.com→ Cloudflare Workers - SSL/TLS: Automatic certificate provisioning and management
- DNS Management: Cloudflare-managed DNS with global propagation
- Performance: Edge-optimized routing with CDN benefits
This setup establishes production-ready domains for your note-taking application, enabling professional deployment with custom branding while leveraging Cloudflare's security and performance features.
Prerequisites
Before starting, ensure you have:
- Cloudflare Account: Active account with access to dashboard
- Deployed Applications: Both frontend and backend (Workers) successfully deployed
- Domain Access: Domain allocated through the workshop Enterprise zone
- DNS Understanding: Basic familiarity with DNS record types (CNAME, A records)
Workshop Participants: You have been provided with access to an Enterprise zone for this workshop. Your allocated domain will be available in your Cloudflare account dashboard under Account Home.
Steps
1. Locate Your Allocated Domain
First, find the domain that has been allocated to you for this workshop.
Access Account Dashboard
- Log into your Cloudflare Dashboard
- Navigate to Account Home (main dashboard)
- Look for your allocated domain in the zones list

Identify Your Domain
Your domain format will be:
- Pattern:
<your-assigned-subdomain>.sxplab.com - Example:
intrepid-reactor.sxplab.com
Each workshop participant receives a unique subdomain within the Enterprise zone. This ensures isolated environments while providing full DNS control capabilities.
2. Configure Frontend Custom Domain (Workers)
Set up a custom domain for your BlazeNote frontend application deployed on Cloudflare Workers.
Access Workers Project Settings
- Navigate to Cloudflare Dashboard → Compute (Workers) → Workers & Pages
- Select the Workers tab
- Click on your blazenote-frontend project
- Go to Settings → Domains & Routes
Add Frontend Domain
1. Add Custom Domain:
- Click Add next to "Domains & Routes"
- Select Custom Domain
2. Enter your domain:
blazenote-frontend.<slug>.sxplab.com
Example:
blazenote-frontend.intrepid-reactor.sxplab.com
3. Click "Add Domain"
Configure via Wrangler to keep your local development environment in sync
You can also configure custom domains through your wrangler.toml or wrangler.jsonc file as an alternative to the dashboard method.
Navigate to your frontend project:
cd ~/projects/blazenote-frontend
Update wrangler.toml:
name = "blazenote-frontend"
compatibility_date = "2024-12-30"
compatibility_flags = ["nodejs_compat"]

# Custom domain configuration
[[routes]]
pattern = "blazenote-frontend.<slug>.sxplab.com"
custom_domain = true

# ... rest of your configuration
Or if using wrangler.jsonc:
{
  "name": "blazenote-frontend",
  "compatibility_date": "2024-12-30",
  "compatibility_flags": ["nodejs_compat"],
  "routes": [
    {
      "pattern": "blazenote-frontend.<slug>.sxplab.com",
      "custom_domain": true
    }
  ]
}
Deploy with updated configuration:
npm run deploy
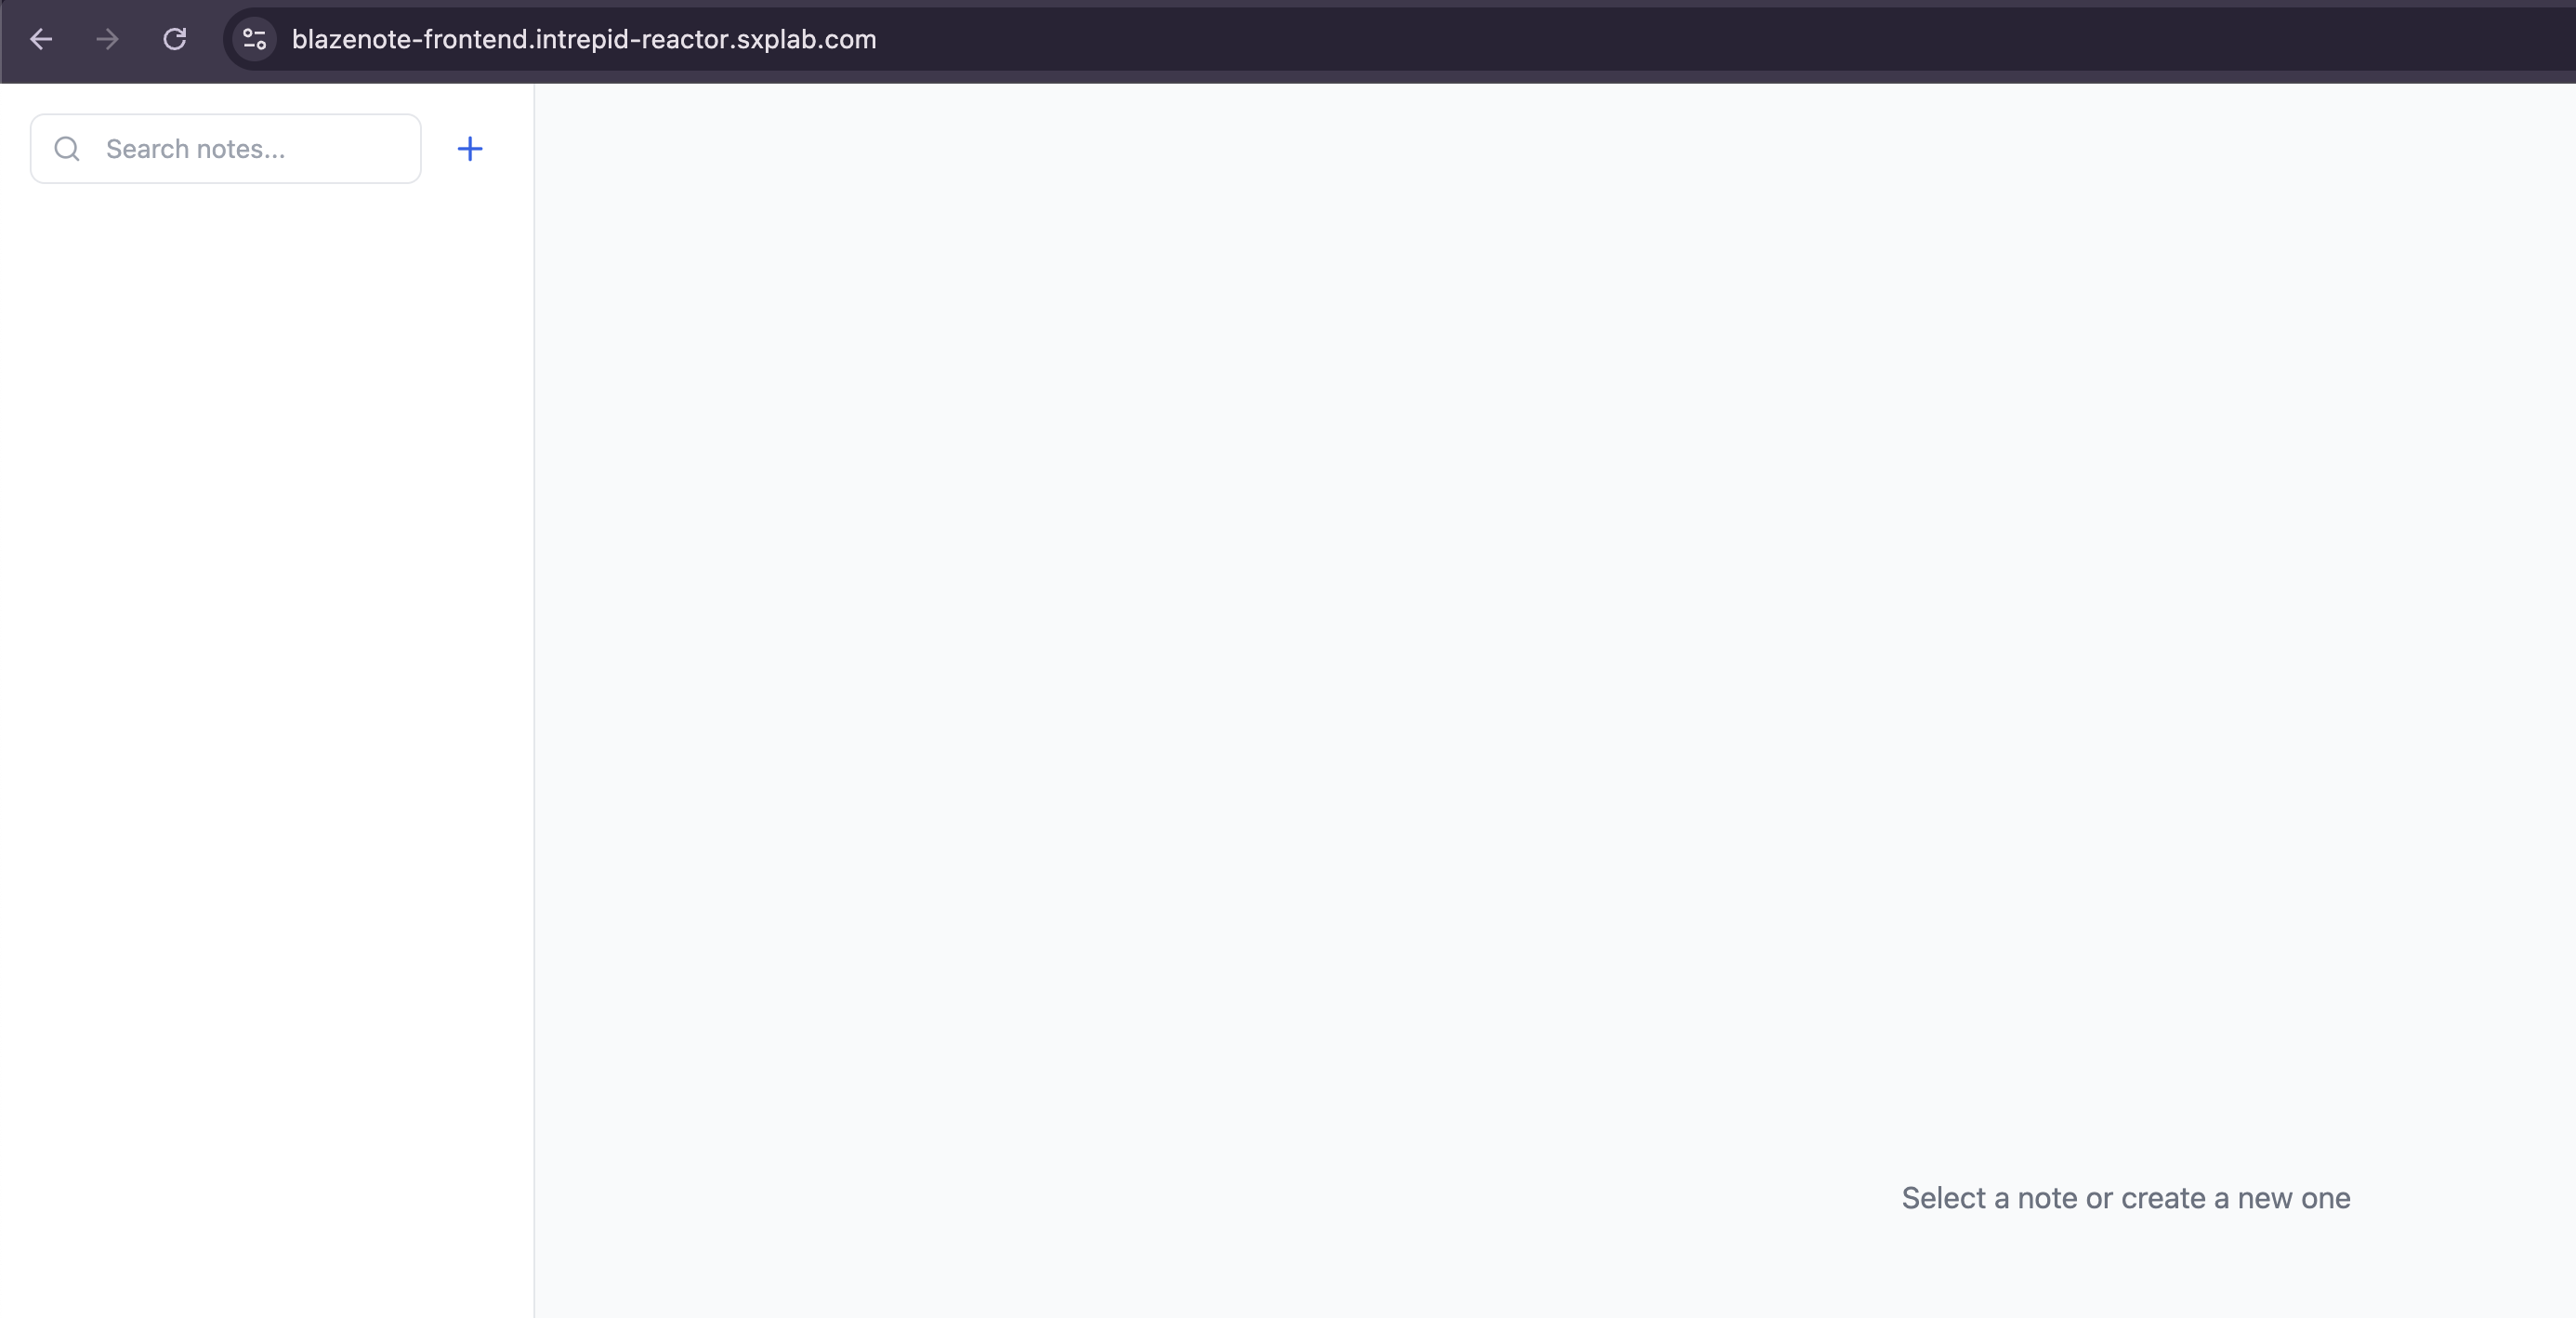
Verify Frontend Domain
Wait for DNS propagation (2-5 minutes), then test:
# Test your frontend domain
curl -I https://blazenote-frontend.<slug>.sxplab.com
Or visit in browser:
https://blazenote-frontend.<slug>.sxplab.com
3. Configure Backend Custom Domain (Workers)
Set up a custom domain for your BlazeNote backend application deployed on Cloudflare Workers.
Access Workers Project Settings
- Navigate to Cloudflare Dashboard → Compute (Workers) → Workers & Pages
- Select the Workers tab
- Click on your blazenote-backend project
- Go to Settings → Domains & Routes
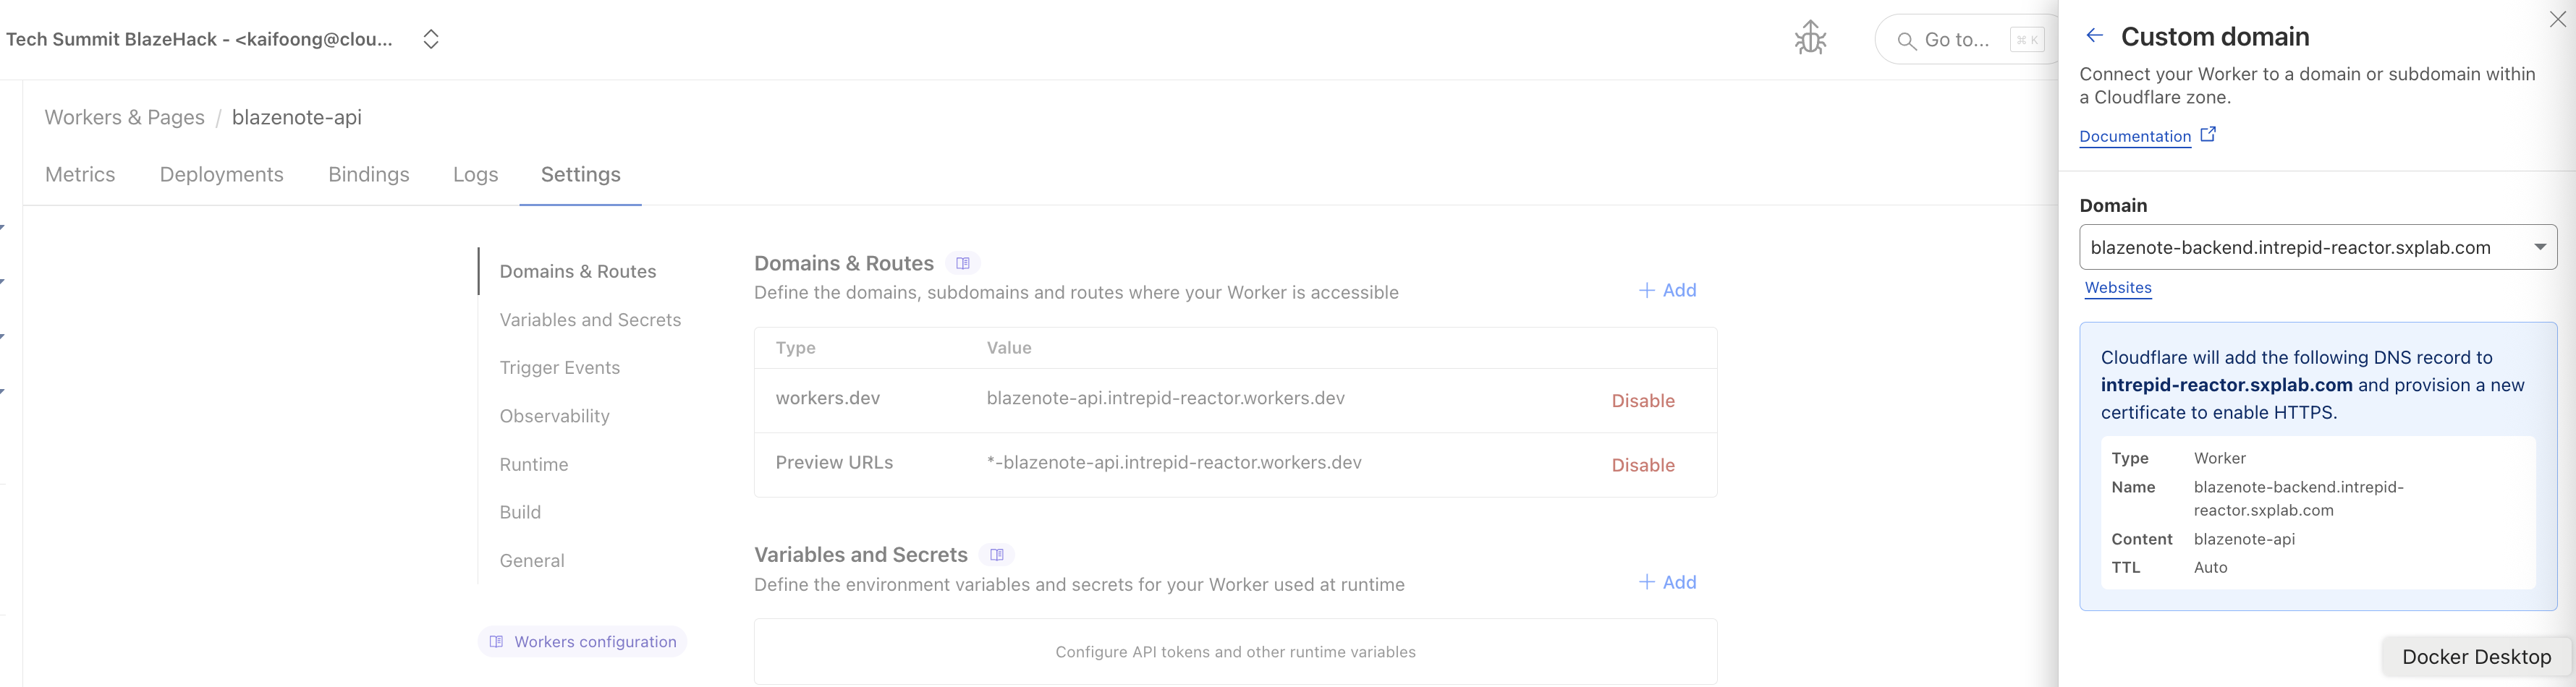
Add Backend Domain
1. Add Custom Domain:
- Click Add next to "Domains & Routes"
- Select Custom Domain
2. Enter your domain:
blazenote-backend.<slug>.sxplab.com
Example:
blazenote-backend.intrepid-reactor.sxplab.com
3. Click "Add Domain"
Configure via Wrangler to keep your local development environment in sync
You can also configure custom domains through your wrangler.toml or wrangler.jsonc file as an alternative to the dashboard method.
Navigate to your backend project:
cd ~/projects/blazenote-backend
Update wrangler.toml:
name = "blazenote-backend"
main = "src/index.ts"
compatibility_date = "2024-12-30"
compatibility_flags = ["nodejs_compat"]

# Custom domain configuration
[[routes]]
pattern = "blazenote-backend.<slug>.sxplab.com"
custom_domain = true

# ... rest of your configuration
Or if using wrangler.jsonc:
{
  "name": "blazenote-backend",
  "main": "src/index.ts",
  "compatibility_date": "2024-12-30",
  "compatibility_flags": ["nodejs_compat"],
  "routes": [
    {
      "pattern": "blazenote-backend.<slug>.sxplab.com",
      "custom_domain": true
    }
  ]
}
Deploy with updated configuration:
npm run deploy
Verify Backend Domain
Test your backend domain:
# Test basic connectivity
curl https://blazenote-backend.<slug>.sxplab.com

# Test API endpoints
curl https://blazenote-backend.<slug>.sxplab.com/notes
Expected response:
4. Update Application Configuration
Update your applications to use the new custom domains for seamless integration.
Update Backend CORS Settings
Edit your backend CORS configuration:
# Navigate to your backend project
cd ~/projects/blazenote-backend
Update src/index.ts:
// Define allowed origins
const allowedOrigins = new Set([
  "http://localhost:5173",                           // Local development
  "https://blazenote-frontend.<slug>.sxplab.com", // Your custom frontend domain
  "https://blazenote-frontend.your-subdomain.workers.dev",     // Your custom backend domain
]);
Deploy the updated backend:
npm run deploy
Update Frontend Environment Variables
Update your frontend environment variables to use the custom backend domain. Since VITE_* variables are build-time only, you must update them and rebuild your frontend.
1. Update Production Environment Variables:
Navigate to your frontend project:
cd ~/projects/blazenote-frontend
Edit .env.production:
# Update to use custom domain
VITE_API_BASE_URL=https://blazenote-backend.<slug>.sxplab.com

# Example with actual domain
# VITE_API_BASE_URL=https://blazenote-backend.intrepid-reactor.sxplab.com
2. Rebuild and Deploy:
You must rebuild and redeploy after updating .env.production. The new backend URL needs to be embedded into the JavaScript bundle.
# Rebuild with new environment variables and deploy
npm run deploy
3. For Local Development (Optional):
Update your local .env file:
# Update for custom domain development
VITE_API_BASE_URL=https://blazenote-backend.<slug>.sxplab.com

# Optional: Keep local backend for development
# VITE_API_BASE_URL=http://localhost:8787
Domain Summary
After completing this module, you'll have the following custom domains configured:
Frontend Application
- URL:
https://blazenote-frontend.<slug>.sxplab.com - Service: Cloudflare Workers
Backend Application
- URL:
https://blazenote-backend.<slug>.sxplab.com - Service: Cloudflare Workers
Integration
- CORS: Frontend domain whitelisted in backend
- API Calls: Frontend configured to use custom backend domain
- Security: Full SSL/TLS encryption between all services
Troubleshooting Guide
Common DNS Issues
"This site can't be reached" errors
# Check DNS propagation
nslookup blazenote-frontend.<slug>.sxplab.com
nslookup blazenote-backend.<slug>.sxplab.com
Solution:
- Wait 5-10 minutes for DNS propagation
- Verify CNAME records are correctly configured
- Ensure proxy status is enabled (orange cloud)
SSL Certificate errors
# Check SSL certificate status
curl -I https://blazenote-frontend.<slug>.sxplab.com
Solution:
- Wait for certificate provisioning (can take up to 15 minutes)
- Verify DNS records are proxied through Cloudflare
- Check SSL/TLS encryption mode is set to "Full (strict)"
Common Integration Issues
CORS errors in browser console
// Error: "blocked by CORS policy"
Solution:
- Update backend CORS configuration in
src/index.ts - Ensure frontend domain is included in
allowedOrigins - Redeploy backend after CORS changes
API calls failing from frontend
// Error: "Failed to fetch" or network errors
Solution:
- Check
.env.production- ensureVITE_API_BASE_URLuses custom domain - Rebuild and redeploy frontend after updating
.env.production - Verify backend custom domain is accessible
- Check that the frontend was built with the correct environment variables
- Ensure both domains are using HTTPS
Mixed content warnings
// Warning: "Mixed Content" in browser console
Solution:
- Ensure all API calls use HTTPS
- Verify SSL/TLS is properly configured
- Check for any HTTP resources in HTTPS pages
References
- Cloudflare Workers Custom Domains
- DNS Configuration Guide
- SSL/TLS Configuration
- Performance Optimization
<SLUG>.sxplab.com. You can also find your domain/zone name in the Cloudflare dashboard.